Good evening, friends and neighbors!
I’m gonna get sappy for a second and tell you about my first date with my wife.
We knew we wanted to go out for dinner and a movie, and were tossing around ideas for local restaurants. We settled on a decent Italian place in the area, but the conversation first went like this:
Me: “Well, there’s a bunch of places near the theater. Fridays, Applebees…”
Emily: “Ugh, no. Let’s go to this place instead.”
Me: “Oh thank God.”
According to Emily, that was the moment she knew we would work out in one way or another- she loved food, she loved eating good food, and wanted someone she could nerd out about it with.
Three years into being married, and that’s still one of our favorite indulgences- going to restaurants and being nerds.

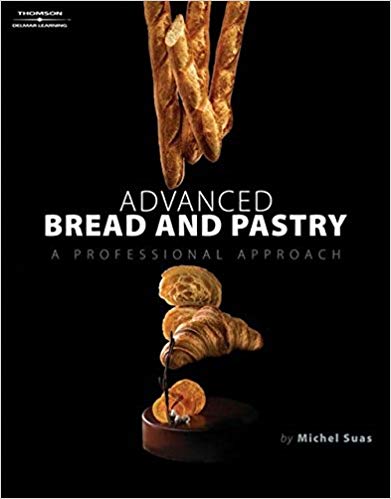 It’s still an excellent resource, though. The book is